
iPhone to Android: The ultimate switching guide
Switching from iPhone to Android can be an intimidating process. Therefore, it is important to understand the entire process and ensure you have the right preparations before transferring data.
This section will focus on what you need to do before you begin the data transfer process, and how you can ensure you are ready to switch.
Backup your iPhone
Before transferring data from your iPhone to an Android device, ensure you have backed up your iPhone. This is an important step as it ensures that all of the data from your device is securely stored and can be retrieved at any time.
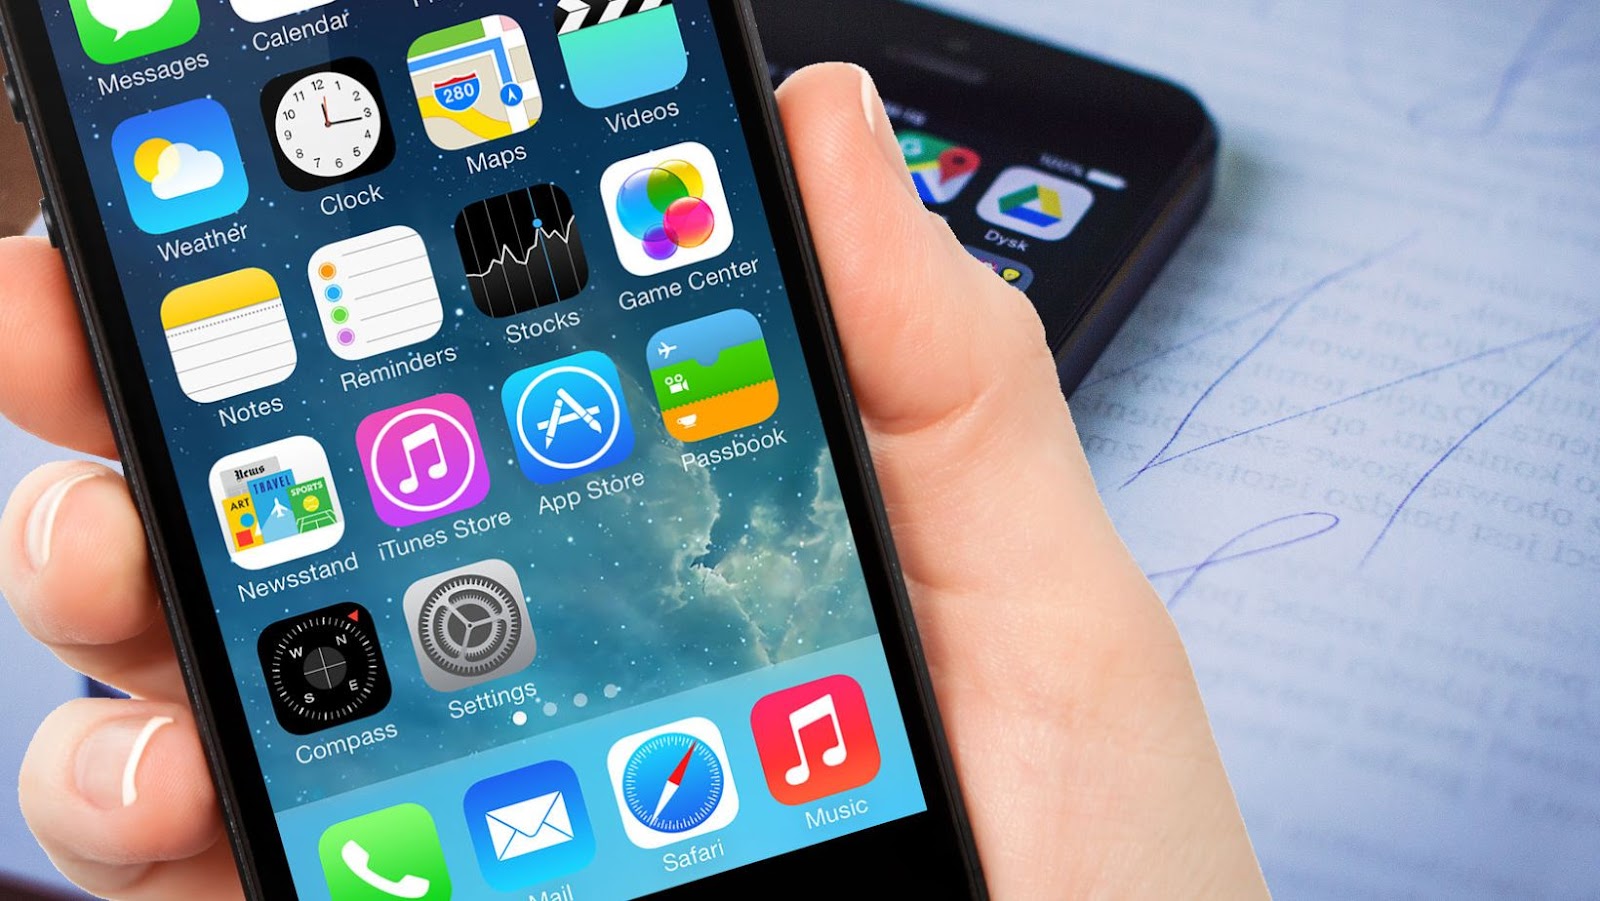
To back up your iPhone, open the Settings app, tap “iCloud” and select “Back Up Now”. This will initiate a full iCloud backup that stores all of the data off of your device in case something goes awry during the transfer process.
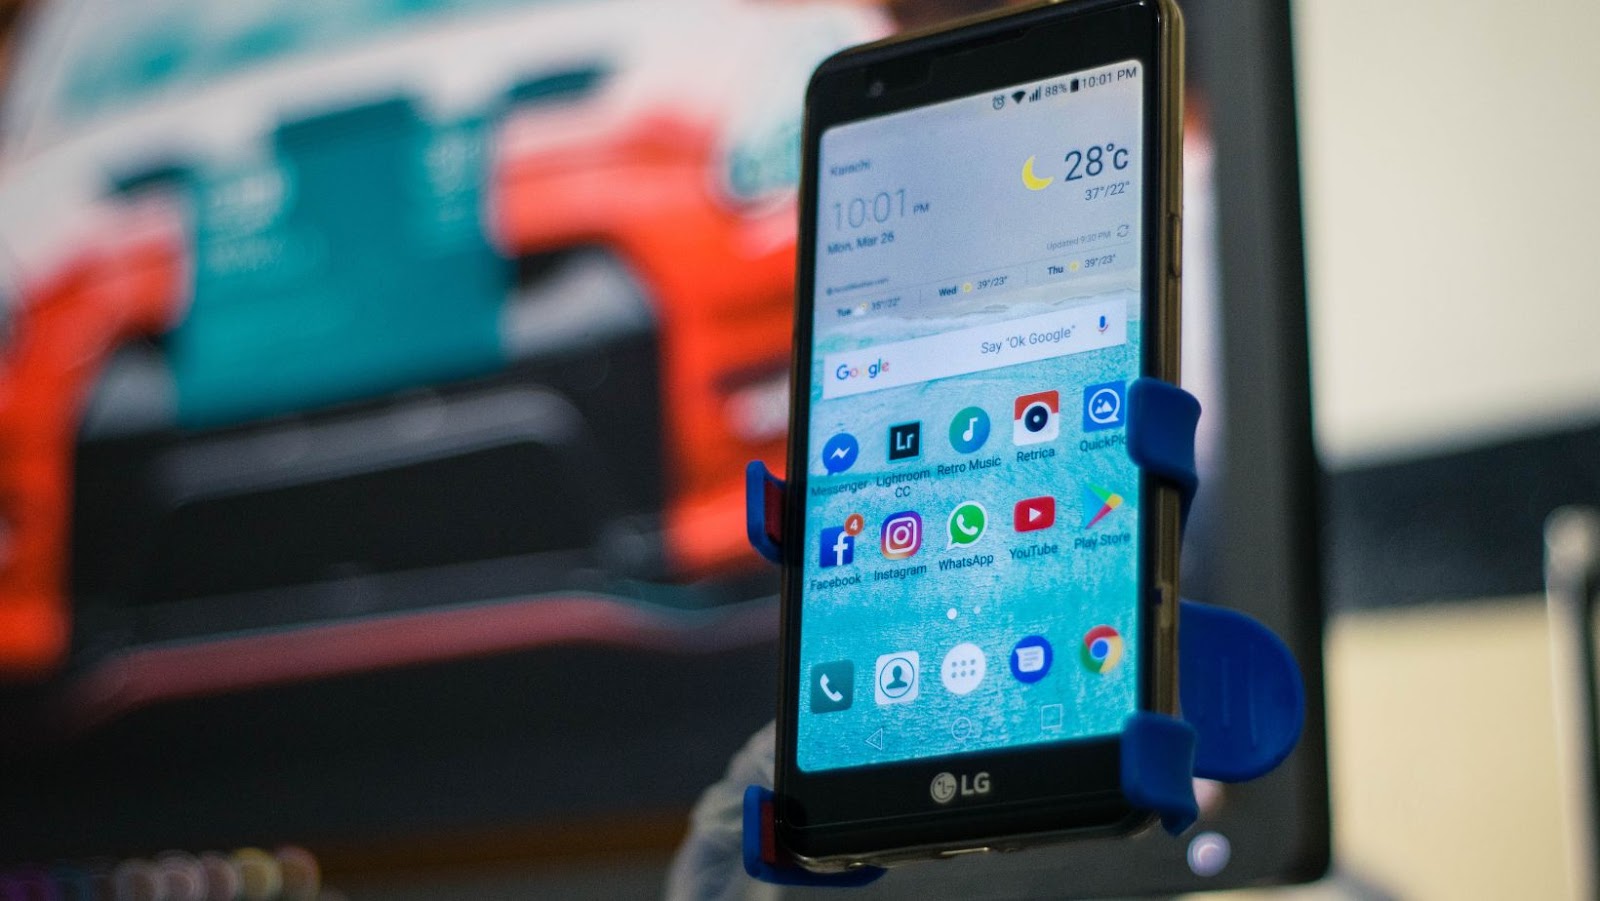
Get an Android phone
Getting an Android phone is the first and most important step in transferring data from an iOS device to an Android device. Before you buy, check your device compatibility with the specific model of Android phone you would like to purchase. Not all iPhone features, apps and services may be available on your new Android phone.
Once you have purchased and set up your Android phone, the next step is transferring the data from your iOS device to it. Depending on the type of content you would like to transfer, there are several different methods available:
- Transferring contacts via Google or iCloud
- Transferring photos and videos wirelessly by connecting both phones to Wi-Fi
- Using a USB cable and easy transfer app such as Smart Switch, Move to iOS or Helium
- Copying other files directly using a USB cable, using file sharing apps such as AirDroid or Dropbox Cloud Storage
- Manually moving music files between devices by connecting them with a USB cable.
It’s important to note that some methods may work better for certain types of content than others. So research beforehand to determine which methods will best suit your needs.
Transfer Contacts
When switching from an iPhone to an Android device, one of the most important tasks is to transfer contacts from your iPhone to your new Android. This can be done in a few different ways depending on if you have a Google account, iCloud, or other cloud-based contact list.
Let’s dive into the details and find out the best way to transfer contacts from iPhone to Android.
Use Google Contacts
The easiest and most universal way to transfer your contacts from an iPhone to an Android device is through Google Contacts. Google Contacts is a free service accessible from any web browser. All you need to do is log in to Google contacts with your Gmail account, which allows you to sync all your contacts from any device.
To transfer your contacts from the iPhone:
1. Log in to Gmail on the web and click “Contacts” near the top of the page.
2. Go to the iPad, open the “Settings” app and select “Mail, Contacts, Calendars”
3. Tap on “Add Account” then select “New Microsoft Exchange”
4. Type in your Gmail address including @gmail.com and enter in a random password into both fields — this allows access but won’t give access to all information associated with that account
5. Once confirming, turn on “Contacts” then scroll down and tap “Done”
6. Log out of Gmail on the iPad then log back into Gmail looking at Contacts
7. You should now see that all of your contacts have been synced
With these simple steps all of your contacts should now be accessible from any device as long as it is signed in with your Gmail account!
Use a third-party app
A third-party switch app is the best way to transfer contacts from an iPhone to an Android phone. There are several options available in both the App Store and Google Play. Most of them work by connecting your two devices over Bluetooth, allowing you to select which contacts you’d like to transfer and sending them over secure servers. Once they arrive on your new device, they will automatically be added to your contacts list.
It’s important to note that transferring contacts this way can take a few minutes depending on how many you have, and some apps may cost money or require an in-app purchase. Therefore, it’s always best to complete a backup of your previous device before proceeding with this method just in case something goes wrong.
Transfer Music
If you’re switching from an iPhone to an Android device, you may be looking for a way to transfer music from your iPhone to your Android phone. This can be tricky, as iPhones and Android devices use different file types to store music. However, whether you’re a music enthusiast, have a large music library, or just have a few essential tracks, there are several ways to transfer music from your iPhone to your Android device.
Let’s take a look at the different methods.
Use Google Play Music
Google Play Music offers a great way to transfer music directly from your iPhone to Android. This cloud-based service allows you to move up to 50,000 songs from your iTunes collection onto Google’s secure servers, allowing you to stream them on any device and download them on up to 10 of your own Android devices.
To use Google Play Music, follow these steps:
1. Download the free Google Play Music app for iOS and log in with your Gmail or Google account.
2. Select “Upload music” from the left-hand sidebar of the app or site and use “Choose from computer” option on the resulting screen and select iTunes as the source library on the next screen.
3. Allow time for all of your songs to upload into Google storage (this can take 2 hours or more).
4. Download either a) The official Google Play Music app for Android or b) an alternate music player like Slicker which supports streaming from Google Play music (You need both apps for this transfer method to work).
5. Log in with your email associated with your uploaded songs on both iOS and Android apps/players so that all your songs are available everywhere!
Use a third-party app
Using a third-party app is one of the simplest ways to transfer your music and other data from one device to another. Before transferring any data, you should ensure both your devices are fully powered on, have their screens unlocked, and have a good internet connection.
Once all of these are verified, open the app, or if it’s already open make sure both devices are connected, and then select the type of data you wish to transfer (music in this case). Depending on which app you choose, you may need to enter some sort of authorization passkey into the device providing the content for verification.
The next step is choosing the files you want to transfer from source device to destination device. To do this head over to ’Music’ or ‘My Library’ from either device and pick out whatever songs or albums you would like. Once selected click ‘Transfer’ on either device and wait for your music library (or other files) to appear in its destination folder.
It’s important that once your music is successfully transferred that you delete it from its source as leaving two exact copies could cause malicious security threats like data theft or malware infections down the road.
Transfer Photos
Whether you are switching to an Android phone from an iPhone, or vice versa, transferring photos can be a tricky process.
In this guide, we will walk you through the steps of transferring photos from an iPhone to an Android device. We will discuss the different methods you can use and the pros and cons of each.
Use Google Photos
Google Photos is a great way to quickly and easily transfer photos from your iPhone to Android. Through the app, you can back up your photos and videos on your Android device without manually transferring them across devices. Of course, you’ll need a Google account to use this, but setting one up is very easy if you don’t already have one. Here’s how you can do it:
1. Download the Google Photos app from the App Store onto your iPhone and log in with your Google account.
2. Open the Google Photos app and tap on “device folders”; this brings up all of the photos on your phone in various folders such as “Camera Roll” or “Screenshots”
3. Tap on ‘Backup & sync’ and toggle it on in order to start backing up all of these photos automatically as soon as they appear on your phone; this happens every time you add new photos or videos to any folder created by this app
4. Once set-up is finished, open Google Photos on an Android device, log in using the same credentials used when setting-up the iPhone version of Google Photos, and then transfer all backed-up data from there
5. All that remains at this point is to wait for files generated by Apple’s iOS (RAW images etc.) are indexed before navigating through them for editing/sharing purposes; overall delay should not exceed a few hours even with large libraries being transferred
Use a third-party app
A third-party app may be the easiest option if you want to transfer photos from your iPhone to an Android device. Several apps available for iOS and Android devices allow users to easily transfer photos between phones. However, most apps require a Wi-Fi connection and may require an in-app purchase before being used. Examples of popular photo-transferring apps include Photo Transfer App and Air Transfer.
When using a third-party app, you should ensure that both devices are connected to the same Wi-Fi network and then follow the instructions provided by the app on each device. Once set up, you can select which photos you’d like to transfer and then wait for them to copy over. Depending on how large your photo collection is, this process could take several minutes or even longer.
Transfer Apps
Moving data between two different operating systems can be difficult, so knowing the best and fastest ways to transfer your apps is important.
To transfer your apps from an iPhone to an Android, there are several steps you need to take and we’ll cover each step thoroughly in this article.
Use Google Play Store
The Google Play Store is one of the most convenient ways to transfer data from iPhone to Android. The Google Play Store is available on iOS and Android devices, making sharing apps, music, movies, and other content easy.
Using this approach requires downloading the Google Drive app onto both devices. Once launched on each device, users may connect the two by generating a code that will prompt sharing between them. From here, users can easily select which type of data they’d like to transfer such as contacts or photos and begin the migration process.
To ensure a smooth transfer between devices, it’s important to set aside time for backing up your existing iPhone content onto your computer before beginning the transition process with your Android device. You should also ensure all apps downloaded from the Apple App Store are available in the Google Play store. Otherwise these will not be able to be transferred over from your iOS device in succession with other data types mentioned previously.
Use a third-party app
Utilising a third-party app is one of the easiest ways to transfer data from an iPhone to an Android device. Many free and cost-effective apps, such as SHAREit, Xender, and AirMore, allow users to transfer photos, music, messages and contacts. Once the app is downloaded on both devices, you must select the files you need transferred and press send. Depending on how many files are transferred, it usually only takes a few minutes.
The downside of this method is that it may be unidirectional; depending on which app you select, some may only allow data transfer from iPhone to Android device–not vice versa. Additionally, if transferring large amounts of data is required, sometimes buying a service subscription for unlimited storage or physical memory storage cards makes more sense.
Transfer Other Data
Moving from an iPhone to an Android device is a big adjustment. If you want to make the transfer seamless, you must transfer your other data too. This includes music, emails, contacts, calendar and other important data you use regularly.
Let’s look into the different methods to transfer data from your old iPhone to your new Android device.
Use a third-party app
If you switch from an iPhone to an Android smartphone, you’ll likely want to transfer all your contacts and other data. While there is no native way to move this data between the two platforms, several methods are available that will make your switch with minimal effort.
The most straightforward option is to use a third-party service such as Google’s cloud storage or Apple’s iCloud. Both services offer apps for both platforms, allowing you to securely back up your data and restore it on another device. Google even has its own app specifically designed for transferring content from one platform to another called Android File Transfer (AFT). This app allows you to transfer contacts, calendars, photos, music and more without additional software or connecting devices with a USB cable.
Alternatively, several iOS and Android apps on the market specialise in photo transfer or contact synchronising, which can be useful when moving large libraries of images or lists of contacts from one device to another. Of course, each comes with pros and cons, so it’s worth doing some research before committing yourself to one particular option.
Use iCloud
Using iCloud (Apple’s cloud storage service) is a great way to transfer your data from iPhone to Android, as it can sync contacts, calendars, and bookmarks across devices. Here are the steps:
1) Turn on iCloud: Open the “Settings” app on your iPhone and turn on “iCloud”. It’s probably a good idea to enable two-factor authentication now.
2) Sync your Apple ID and Apps: To keep your calendars in sync, you must sign into every Apple iOS app with your Apple ID. This includes Mail, Contacts, Calendars, Photos and Messages. The settings for each one can be found in the App Store or Settings app on iPhone. This makes sure that all of this data is synced to iCloud automatically.
3) Export save files from apps: If you want any files or photos transferred from an iOS app (such as Angry Birds or Minecraft), you’ll need to export them first. Typically find the export button in settings of each game or application – remember where you exported them!
4) Get an Android device: Next get an Android device such as a Galaxy S10 series phone and install Google Drive; this will allow you to download files directly onto it without transferring them separately over USB cable connection. To do this, open the settings app and select “Accounts’ ‘ then add a Google account associated with Gmail address to store backups within Google Drive. Next, choose “Backup & Restore” and select which items your phone wasn’t backed up into Google Drive (e.g., contacts). This may take several hours depending on how much data backed into cloud storage – be patient!
5) Download iCloud files onto Android device: Now use the “Import” feature of Google Drive or Dropbox apps installed on both devices – from there just enter the URL provided by iCloud when prompted for download links of photos/files/contacts etc., remember does not transfer applications itself just their associated data like their saved games! Then finish signing up Gmail so that contacts automatically sync between iOS device/Google services too if desired – this transfers everything except music which needs manually copying over via iTunes before transferring onto android device such as Samsung S10 series smartphones etc..